Payments
This section details Vendor payment process from single invoice payment to payment proposal with additional check and validation to increase payment security as well as productivity provided by integrating Eftsure into Dynamics 365 FO.
With this extra validation, Eftsure will provide real time validation during your payment process, before generating your ABA file and before approving it in the bank portal. Our improved processes will provide full confidence against manual alterations and ensuring you pay the right payee and the right account.
Vendor payment journal
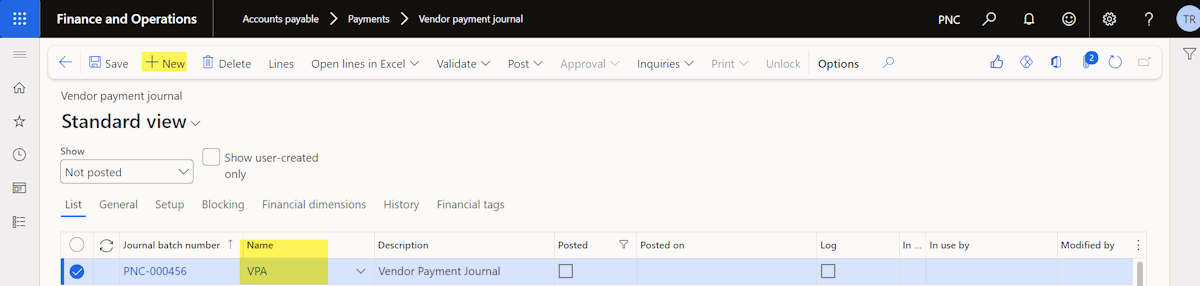
Go to Accounts payable > Payments > Vendor payment journal

Click New, select Journal Name type.
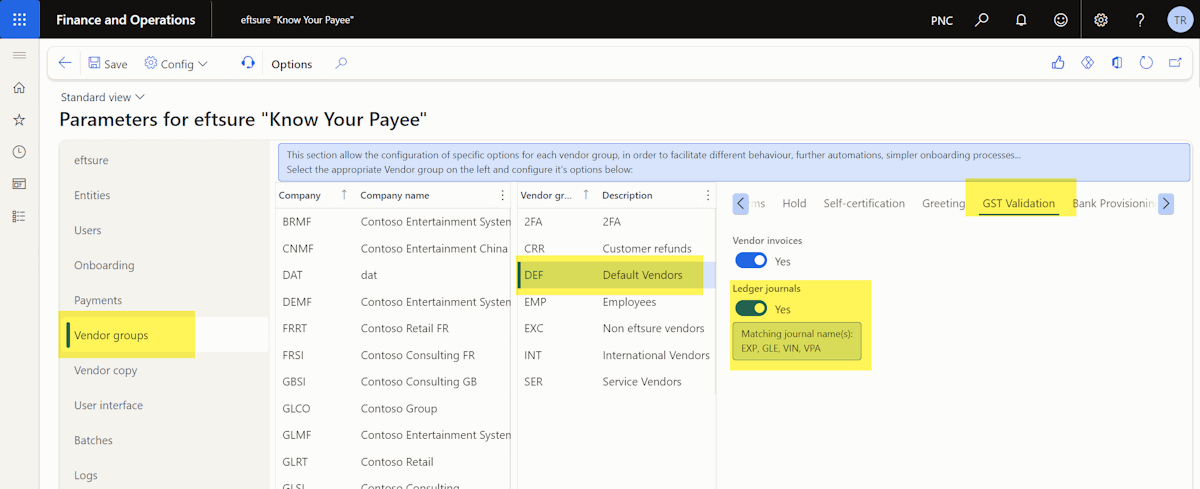
If user want to turn on ABN and GST validation for vendor payment, Journal name type will also need to be configured with Eftsure Parameter > Vendor groups > GST Validation
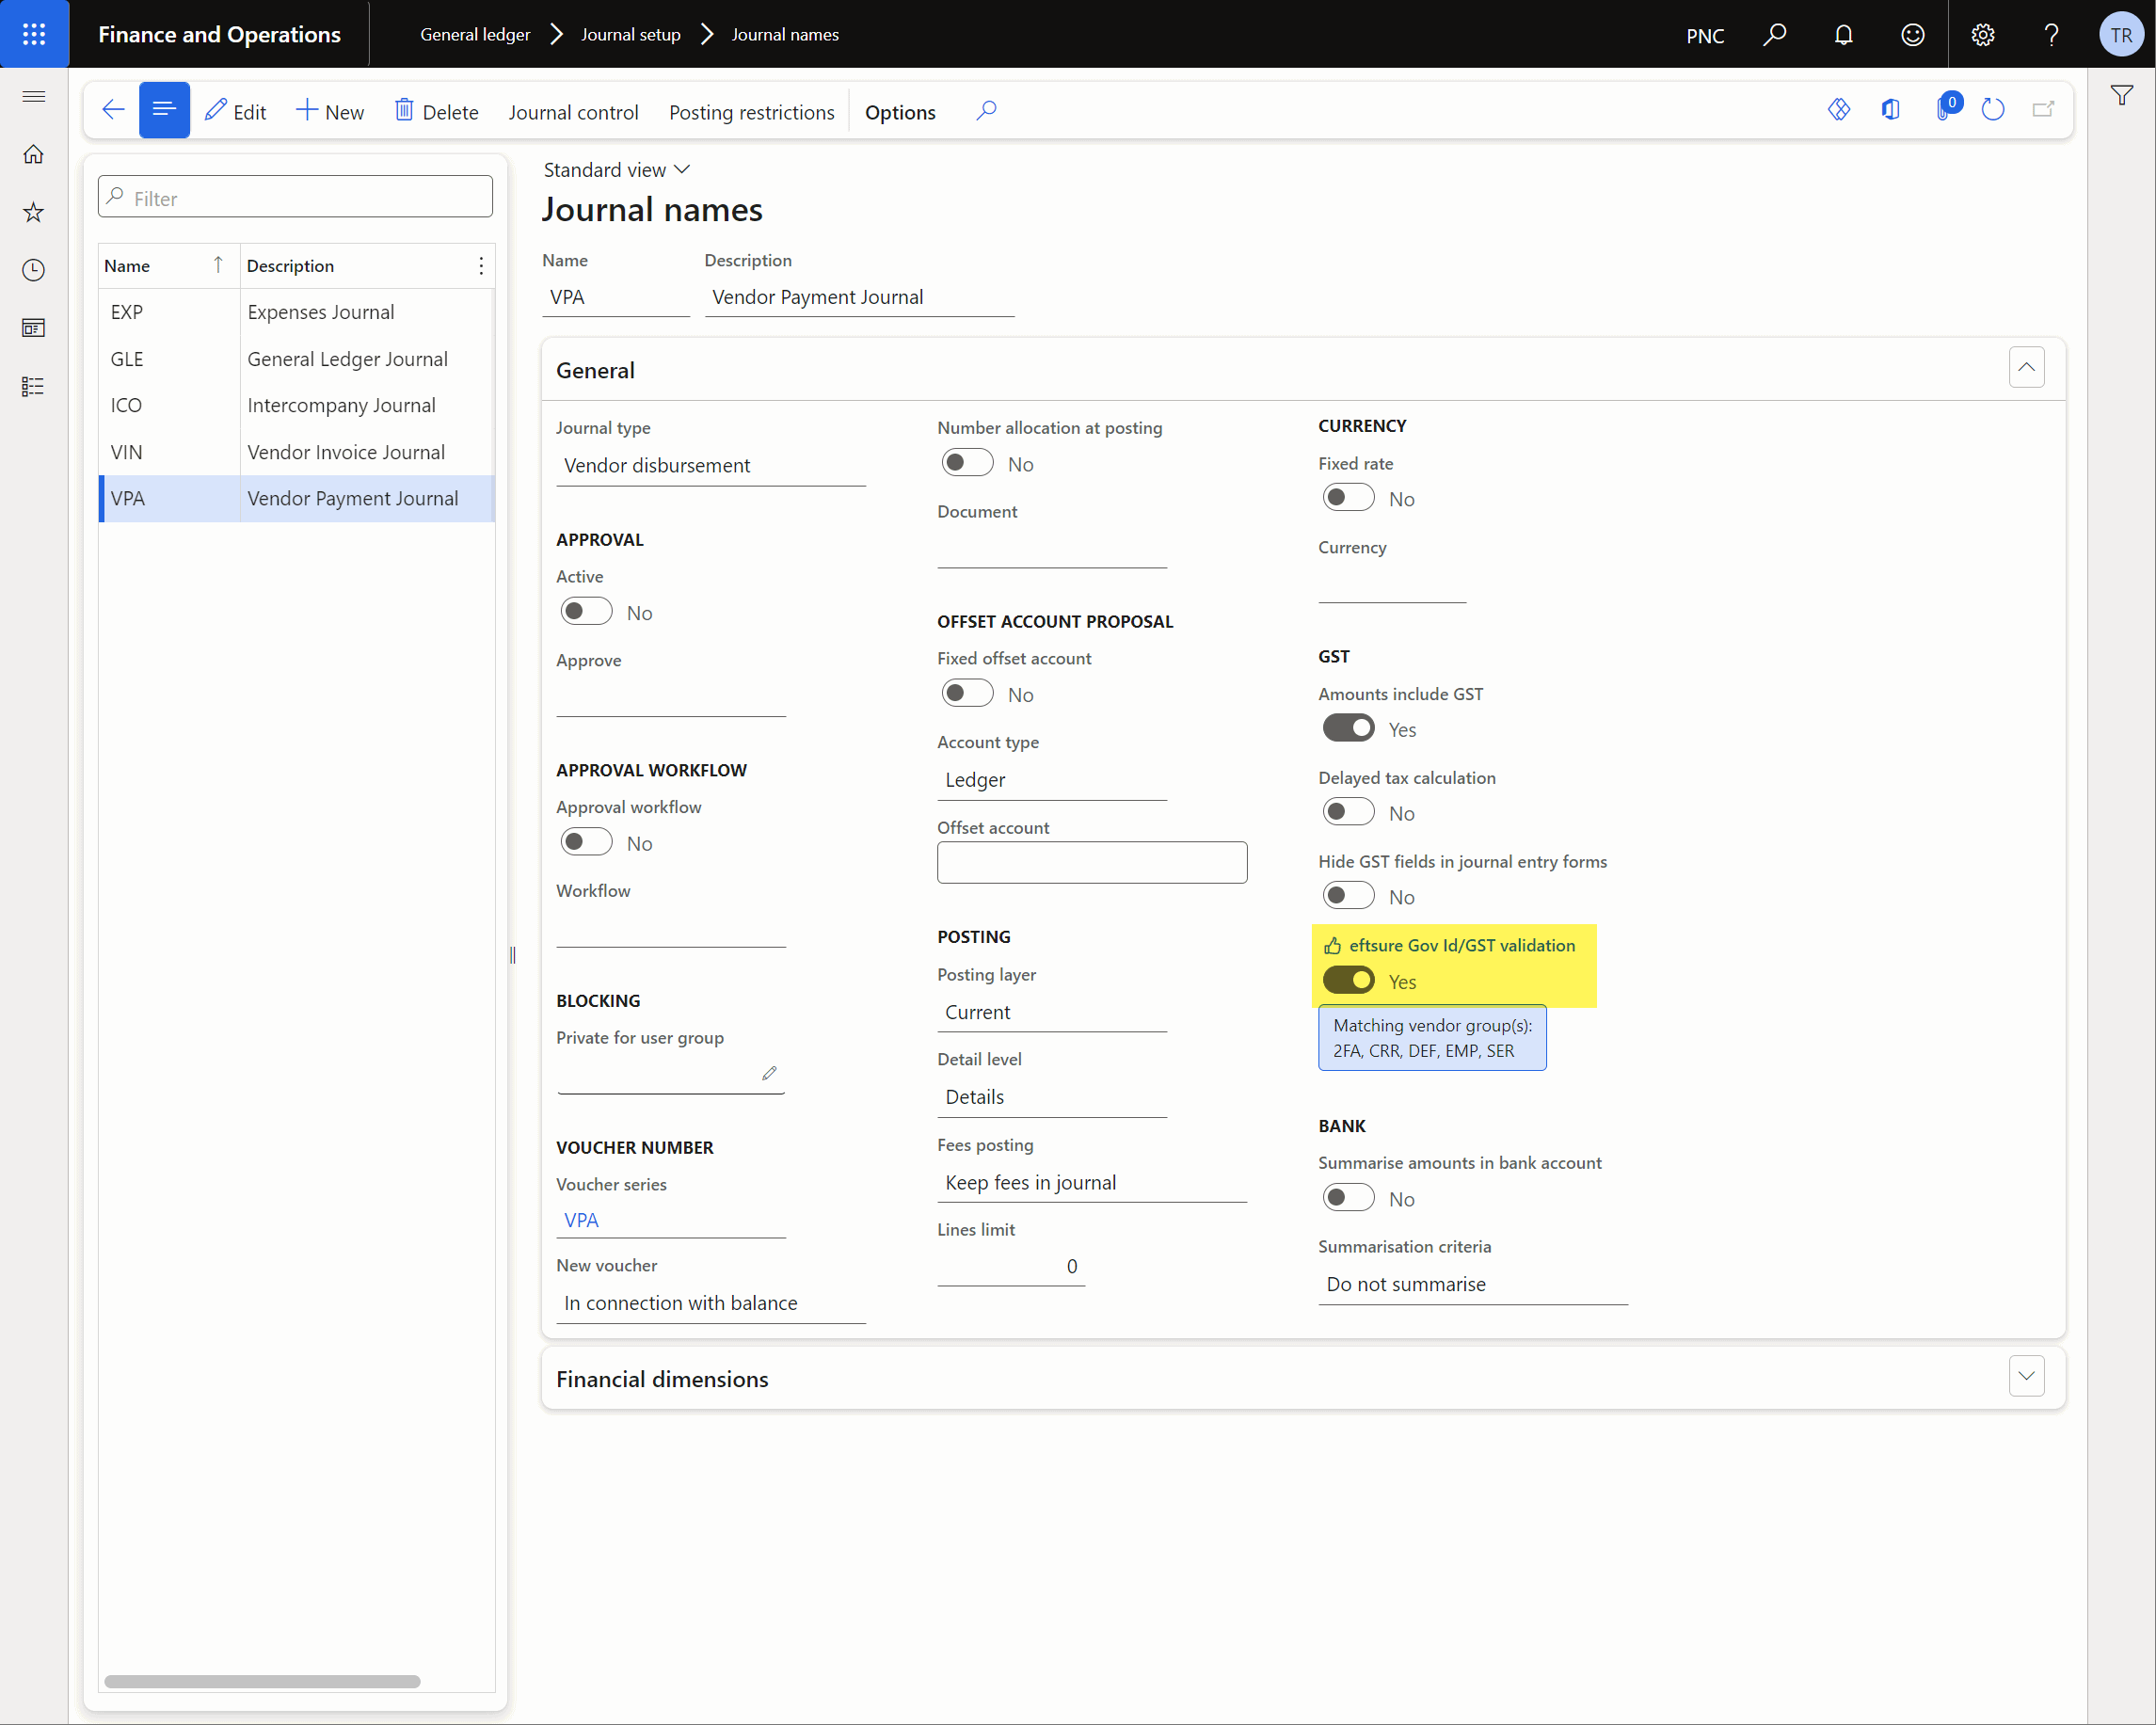
As well as via General Ledger > Journal setup > Journal names or direct hyperlink from journal type.
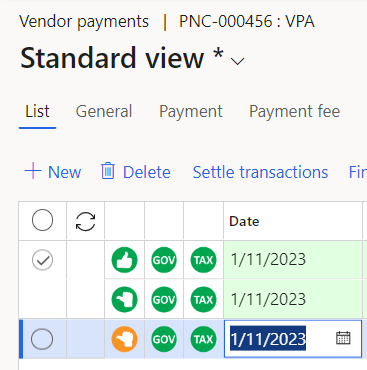
Select Lines or click on Journal batch number.

In the next section we will list out 3 standard payment method basing on business requirements.
Payment without invoice
Update Description and enter payment amount.
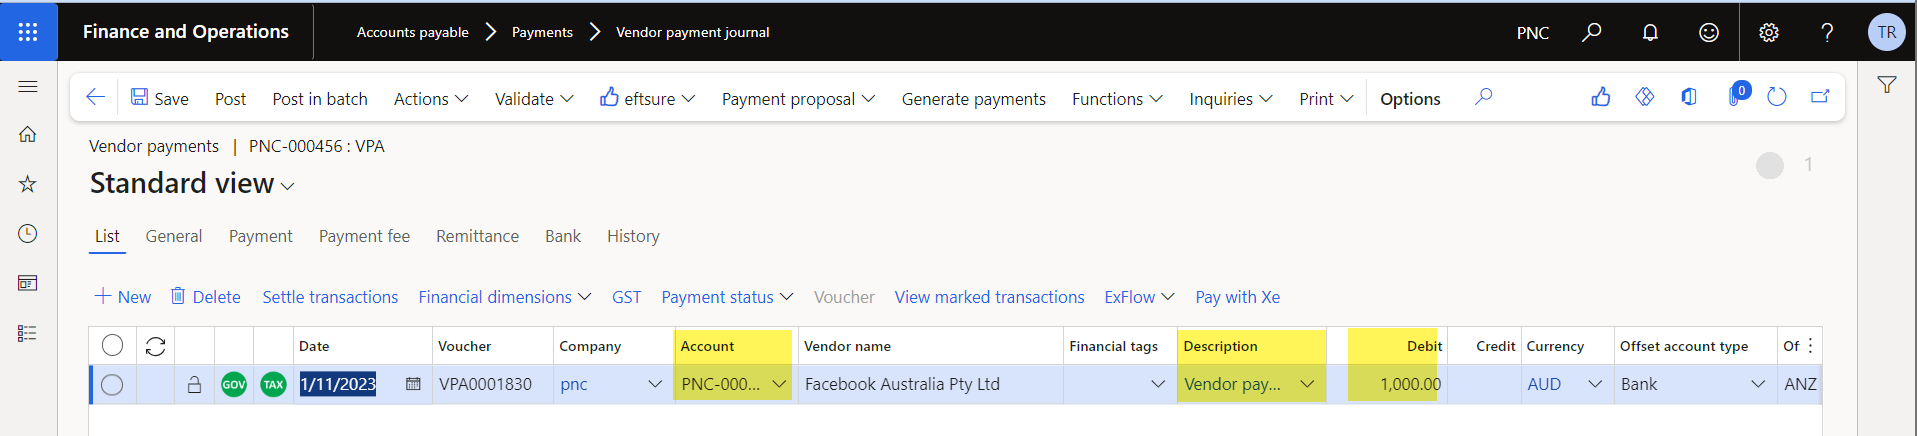
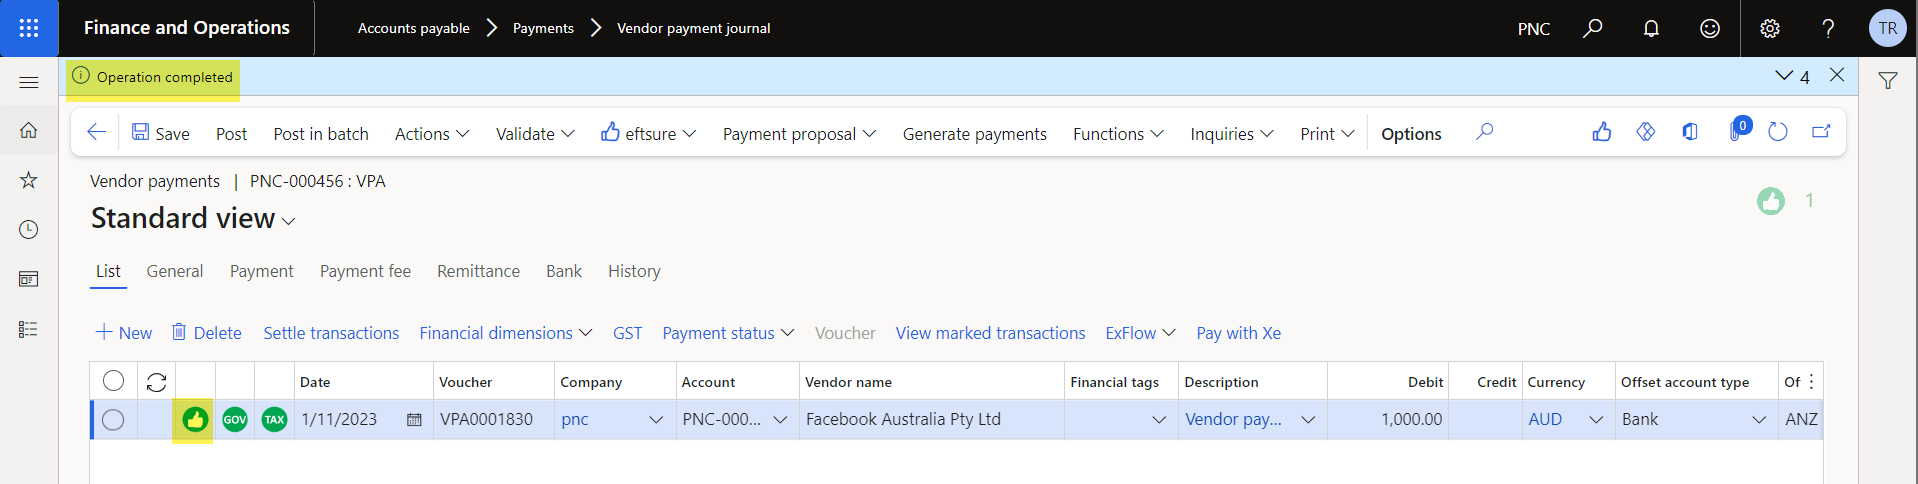
Click Validate

Below message will pop up.

Once validated, journal line is ready for next step Generate payments.
User can extract payment report for review or pre-approval.
Print > Payments
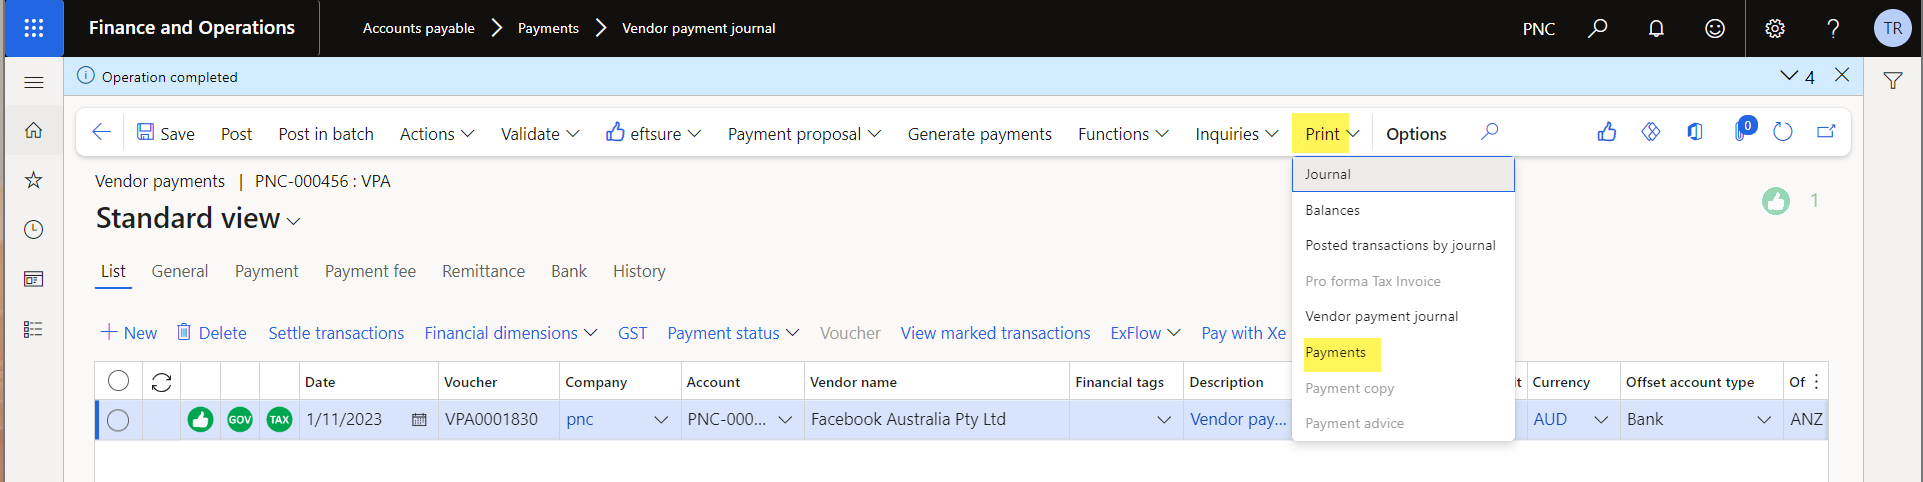
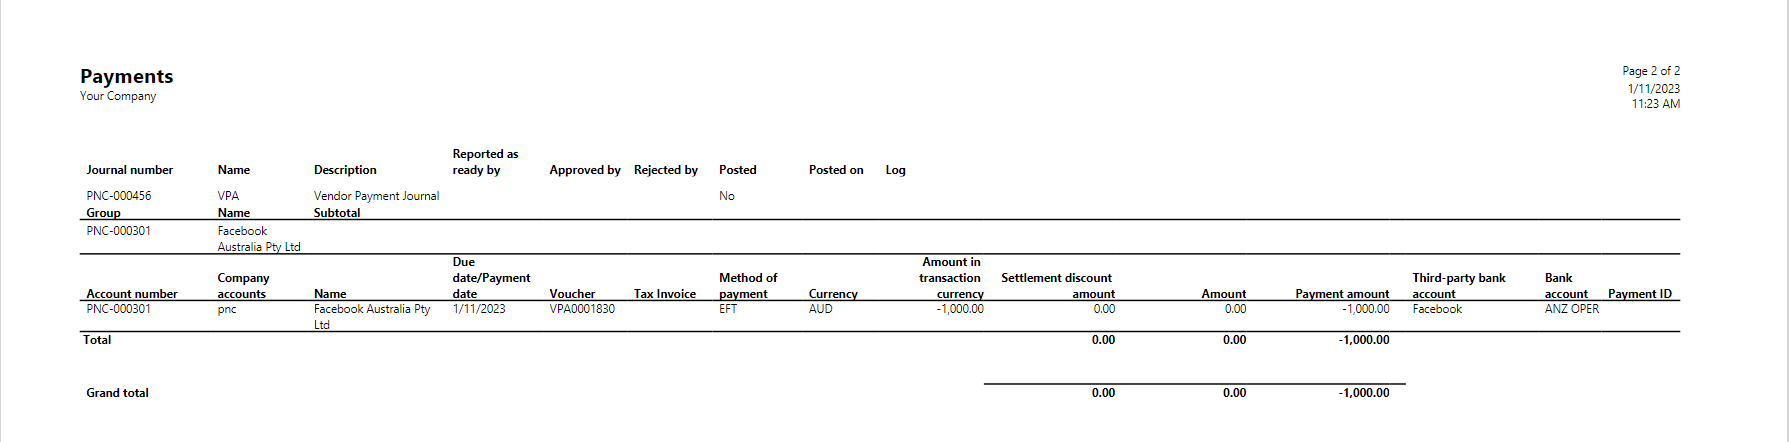
If the payment is without invoice, user will only need to select Payment option.

Payment report can be reviewed and approved.
Once all has been reviewed and approved, Generate payment
Payment via Settle transactions
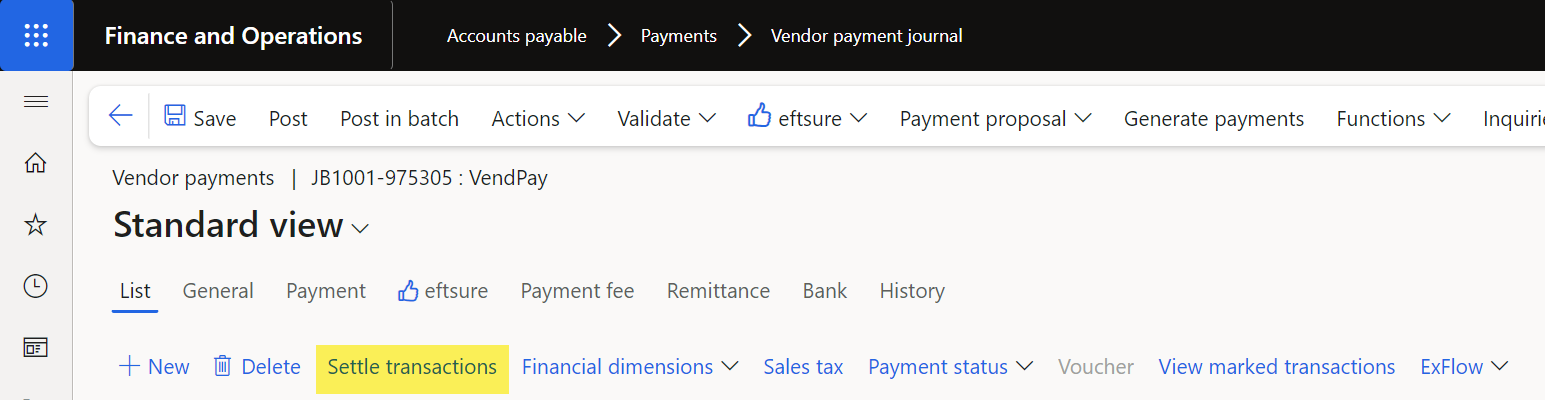
Select correct invoice for payment and Mark selected button then click OK.

Vendor journal will be total for all invoices.
Once all validated and reviewed Generate payment.

Print payment report with both Payment and Invoice option

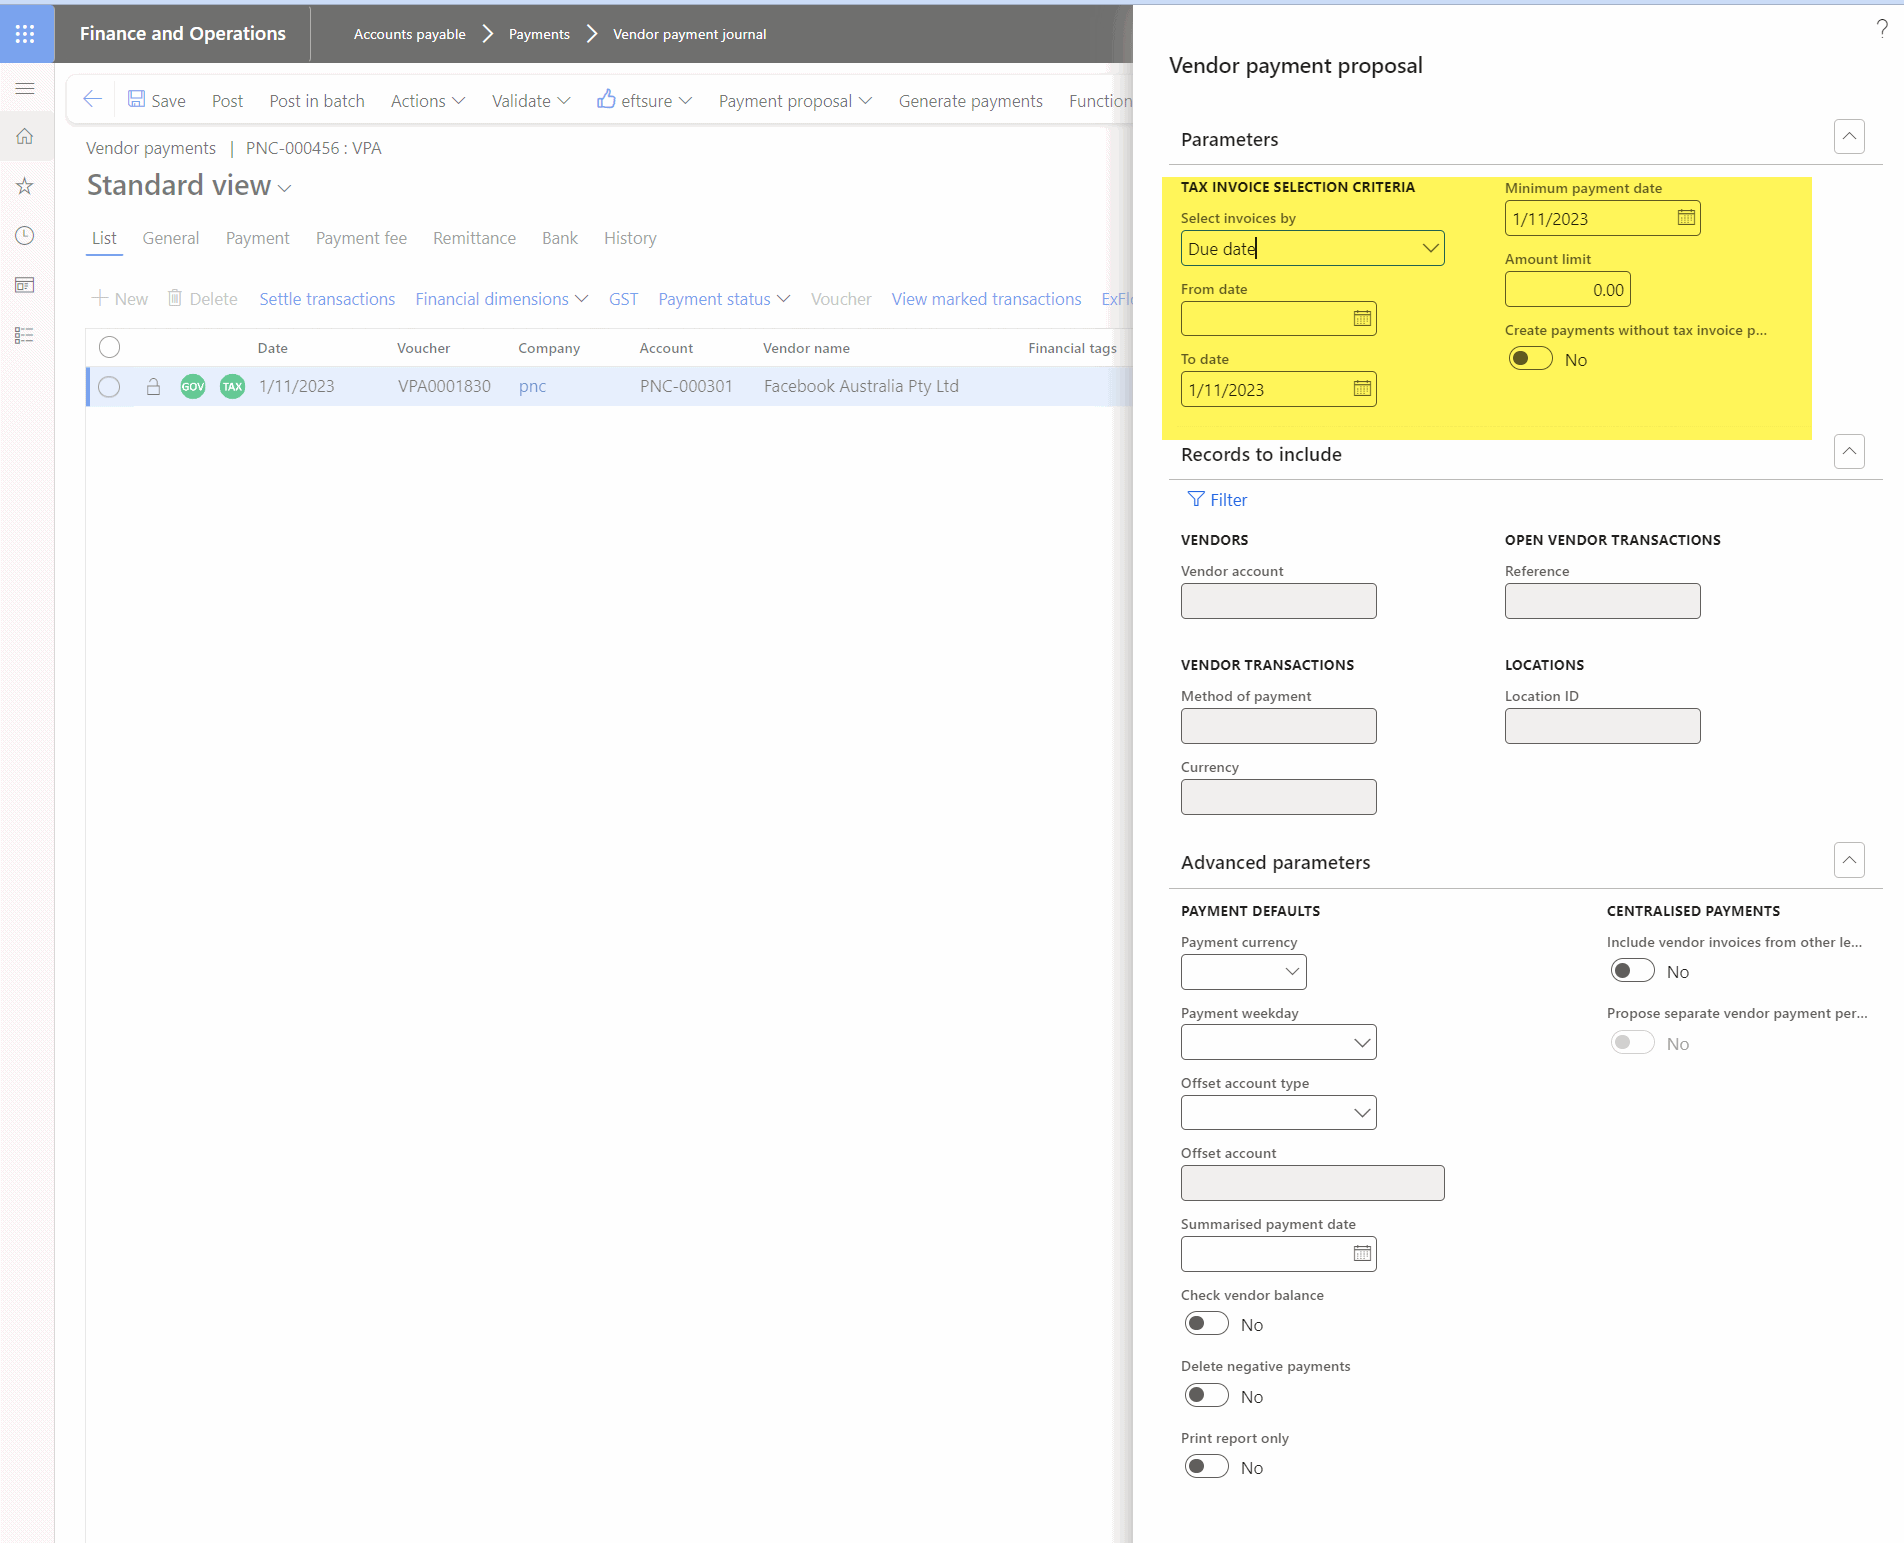
Payment with Payment proposal
This option is used to generate multiple payments for multiple vendors by selected criteria.

User can generate payment by Due date or Amount limit.
User to review and select invoice which need to be settled.
Either Remove or Create payments.


More details can be viewed in below article.
Generate payment
Generate payments once all steps are completed and bank account has been verified with  icon.
icon.

In the Method of payment field, enter bank account or select a value accordingly.

In the File name field, type a value. Suggest to use payment date or business naming convention.
In the Processing date field, enter a date.
In the User identification field, enter a number.

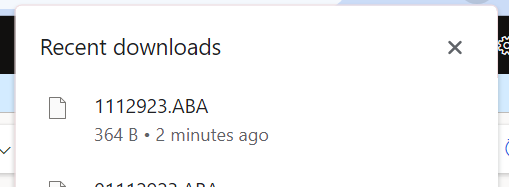
ABA file will be generated.
Once payment is generated, Payment status will be automatically changed from None to Sent.
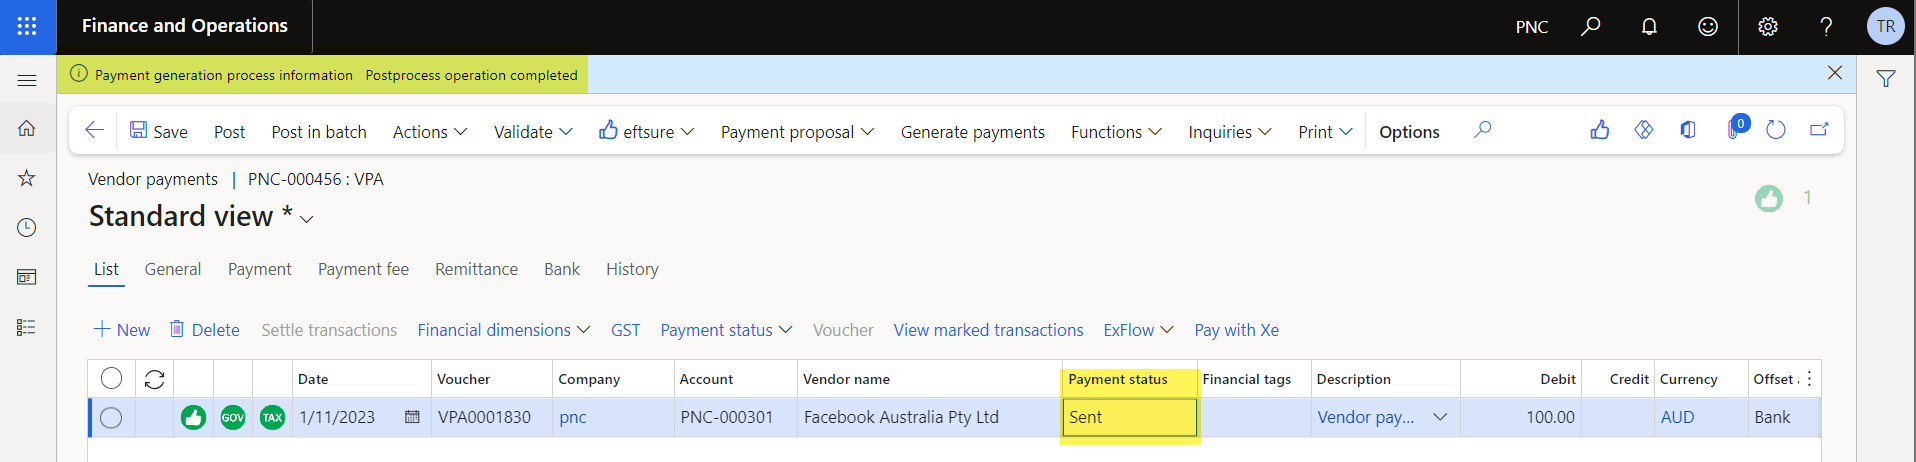
Payment file will be generated.
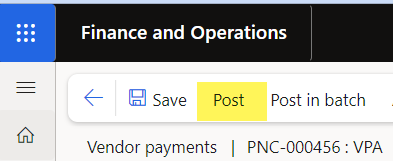
Once AP clerk has uploaded payment file to bank portal with green light and no error. Payment journal will need to be posted in D365.
Payment workflow
If the customer has enabled the vendor payment workflow, the following steps must be followed:
Once all vendor payment journal lines are validated (marked in green or meeting the excluded requirements), the user needs to submit the workflow.

If any vendor payment journal line is marked red or orange, the user will not be able to submit the workflow as it will result in below Eftsure validation error.

Once payment journal is approved, user can Generate the payments from vendor payment journal screen.

Generate payments file from Journal screen

Appendix
General ledger parameter
We recommend to not have one voucher for multiple journal line so keep below option as off.

Below is also the note recommended by Microsoft, if user wish to have more detail.
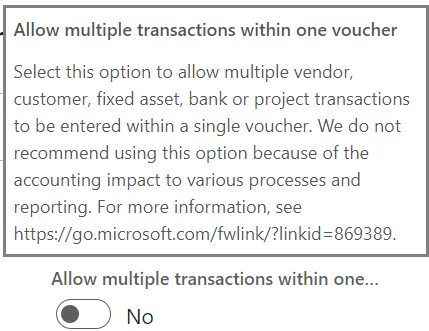
More information can be viewed in below link.
Create Bank account

Complete required information.

Method of payment
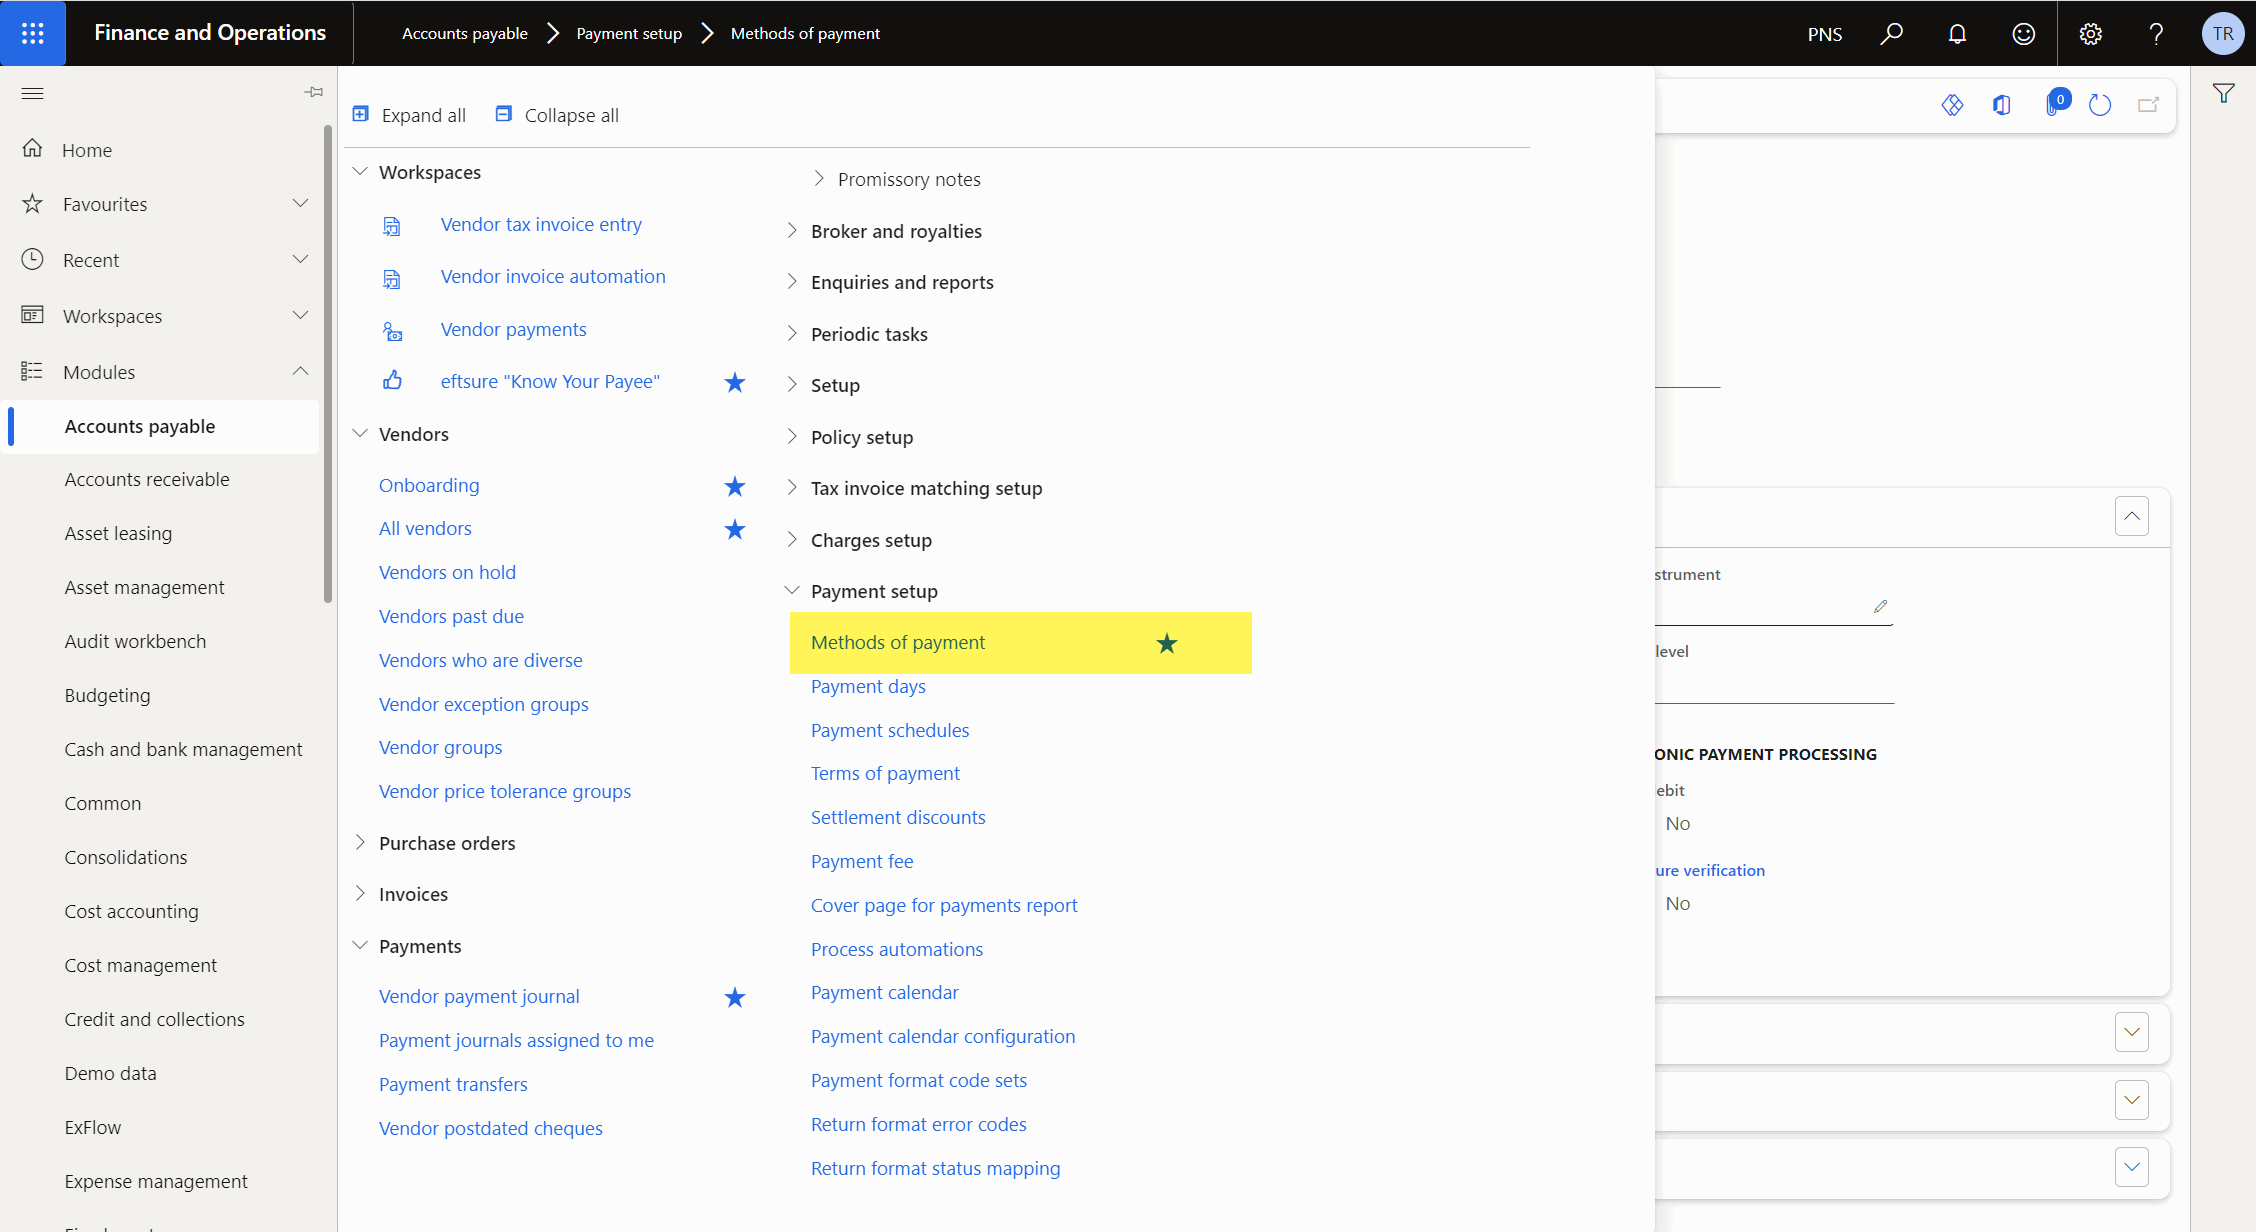
Set up payment method and link to specific payment bank account as well as activate Eftsure verification according to business requirements.

Business can setup different Payment method using same payment accounts with and without Eftsure verification setup which will be clarified in the next section Tips and tricks.
Vendor payment common errors
Vendor invoice GST error
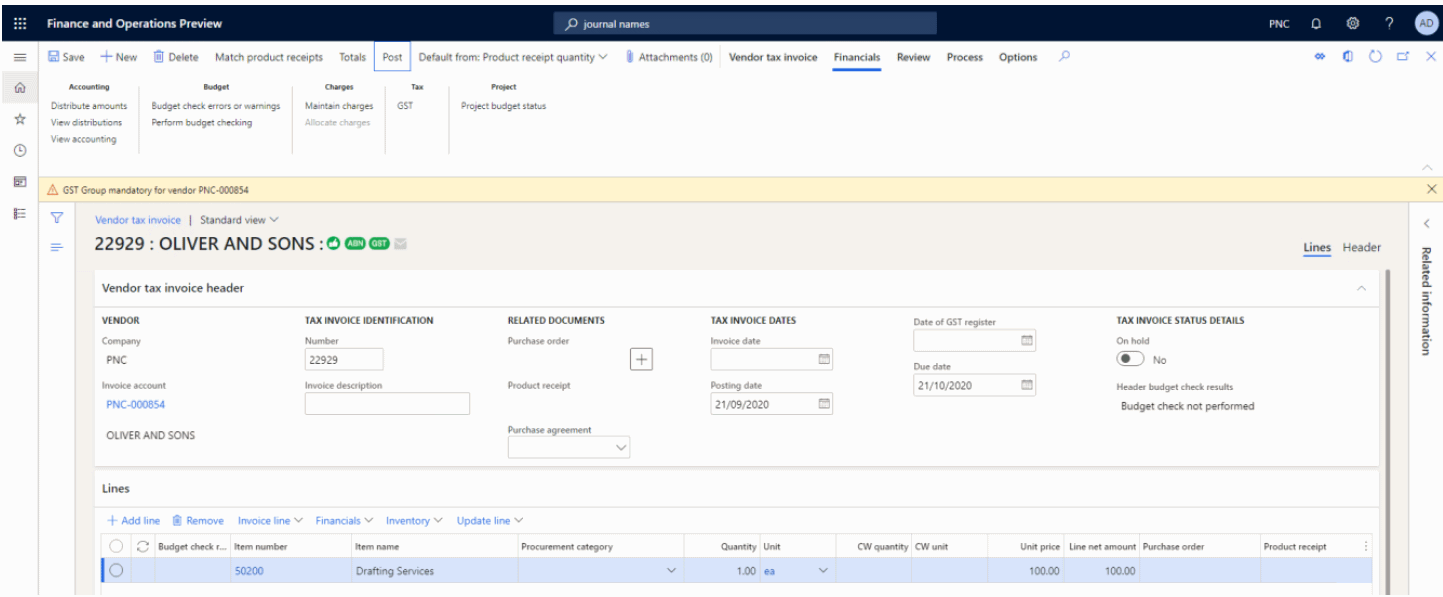
When posting a vendor invoice with GST for a vendor that is not registered for GST, matching a vendor group configured to validate GST, the following message will prevent the invoice posting:

When posting a vendor invoice without GST Group for a vendor matching a vendor group configured to validate GST, the following message will prevent the invoice posting:
Journal with GST error
When posting a journal with a voucher configured for GST for a vendor that is not registered for GST, matching a vendor group configured to validate GST, the following message will prevent the journal posting.
When posting a journal with a line without GST Group for a vendor matching a vendor group configured to validate GST, the message will prevent the invoice posting.

To disable GST vendor payment journal validation, it can be completed via below menu.

Or if user prefer to have GST group to be set as default for journal gross amount, GL parameter GST will need to be setup.
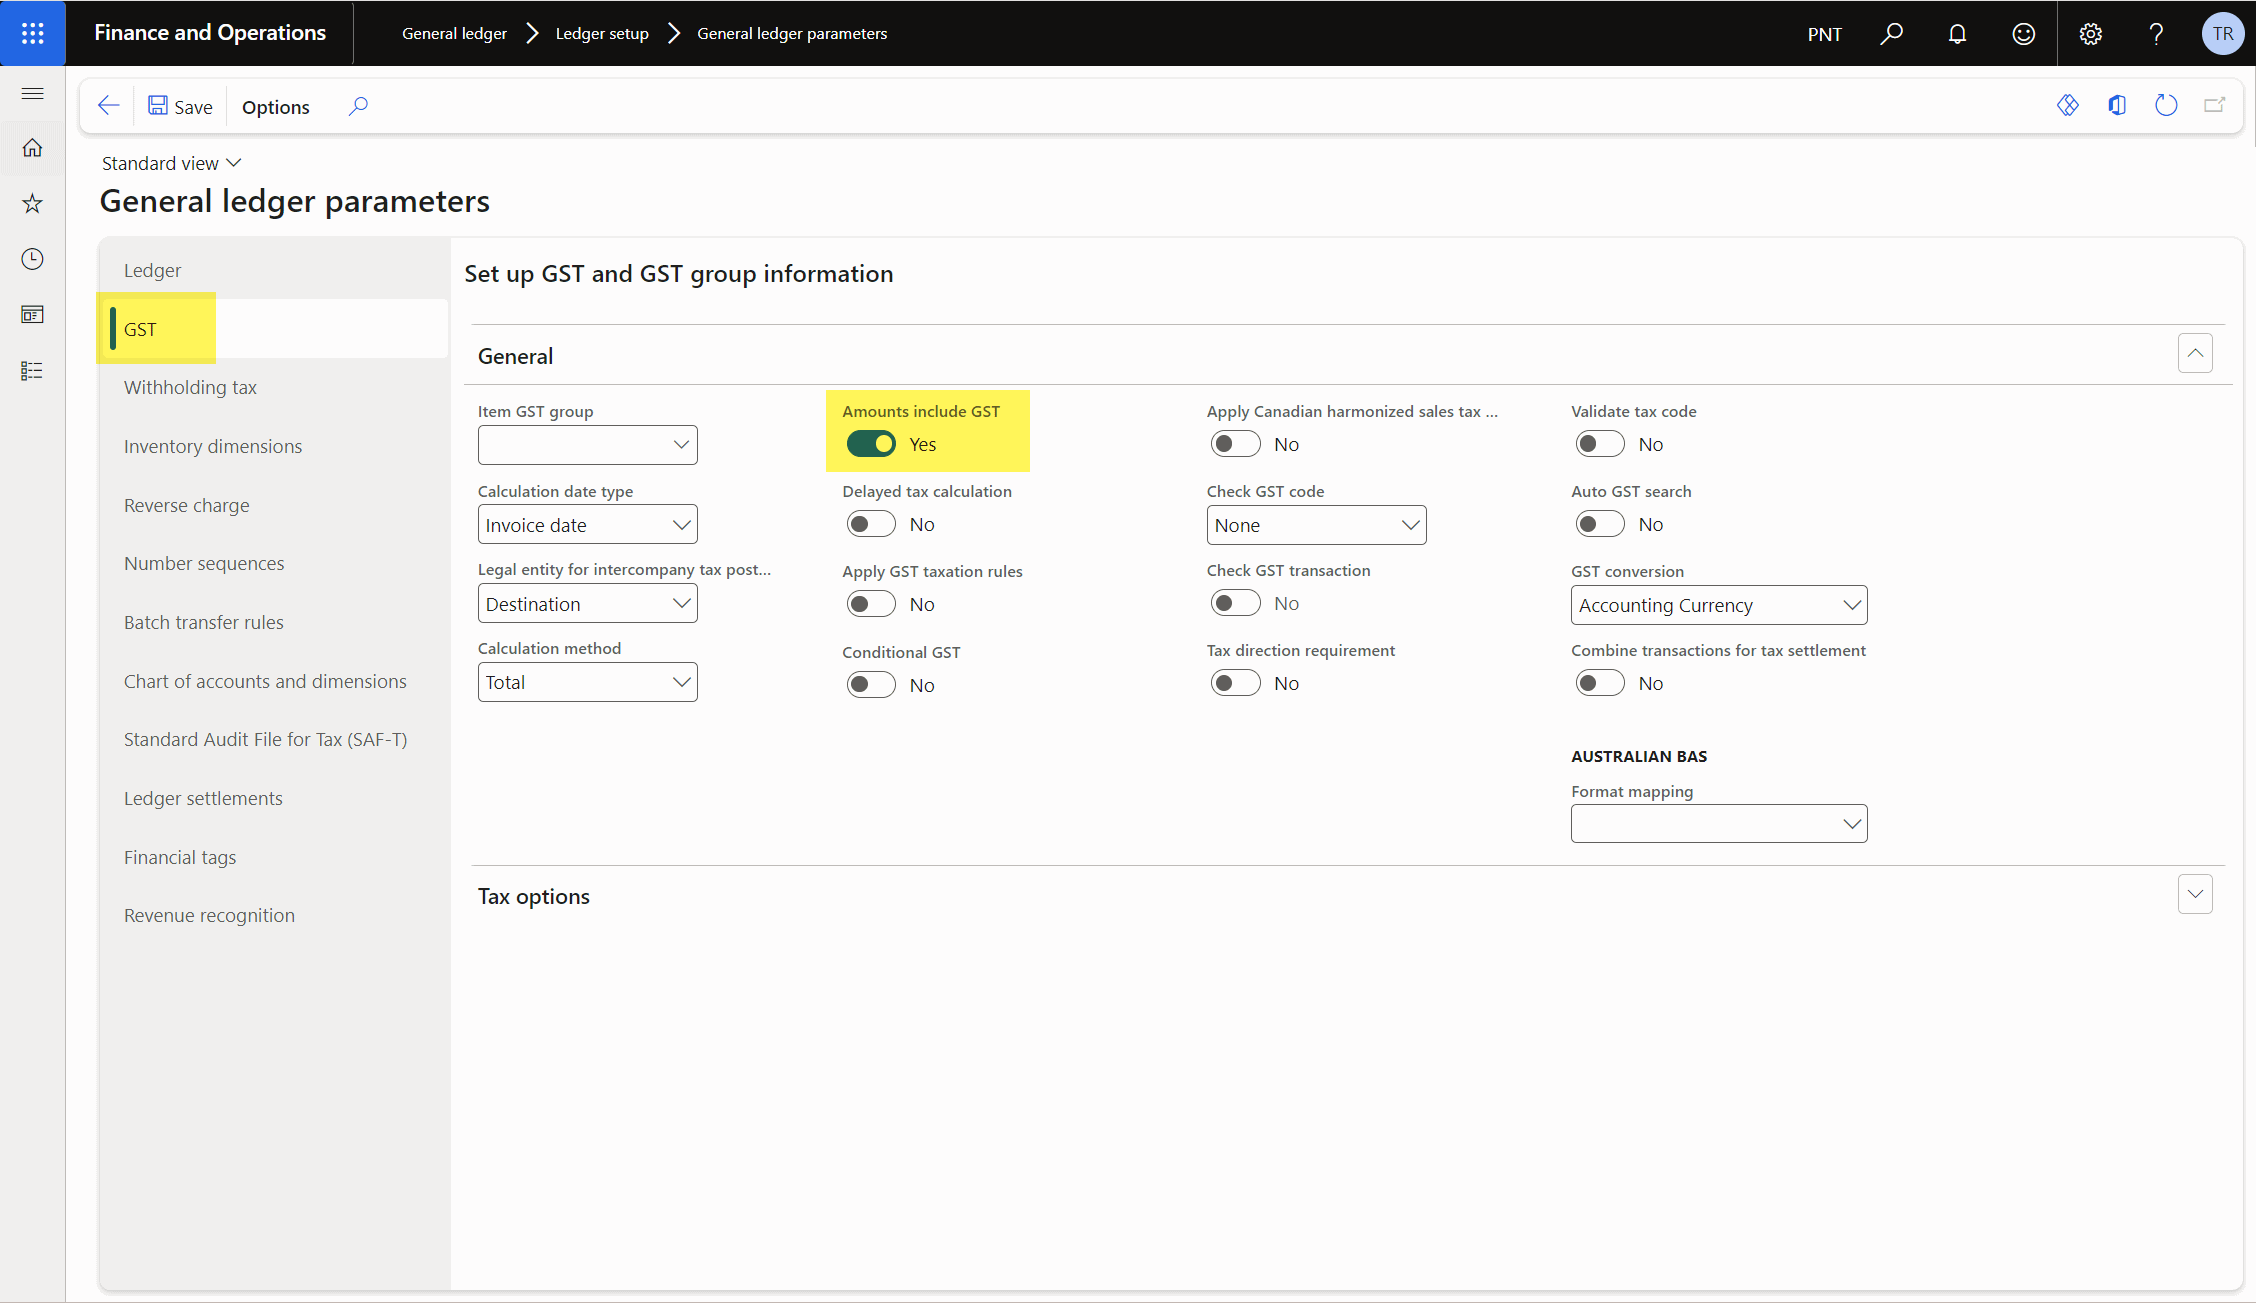
GST group will be auto populated.

Journal with excluded vendor error
Simulate posting for excluded vendors with Eftsure enabled method of payment will generate an error.


Performing Simulate posting will have an error.

Eftsure validation: 1 line(s) have invalid Eftsure verification status. Please validate and review journal before posting again.

For all excluded vendor, business should have a separate method of payment with disabled Eftsure.

EFT_Not method of payment can be created with same details.

More details on how to enable and disable Eftsure for method of payment will be in Technical configuration document.
For journal line with error, change method of payment will also change journal line icon.

After changing method of payment, Simulate posting will be successful.

Payment with account not verified yet
If some of payment lines with vendor's account have not been verified.

Below are some steps you can follow before generating payment.
Verify bank account
User can select verification menu from Eftsure menu within Vendor payment journal menu path.

Once verification process (please refer to Eftsure inside D365 FO User guide) has been completed, user can refresh the line and continue with normal vendor payment process.
Self-certification

For more information on self-certify, please refer to User guide.

Once Vendor bank account is self-certified, re-validate. Payment line will be Green.

Remove un-verified line(s)
Delete journal line with vendor's bank account not yet verified for future payment once it has been verified.
Change payment method
User can also change payment method for not yet verified line to proceed with vendor payment journal.
From Eftsure verification Method of payment to a non Eftsure verification.

As per this example, EFT has Eftsure verification switched on.

And EFT_Not does not have Eftsure verification switched on.

Once Method of payment has been changed, Journal can be re-validated. Not yet verified icon will be replaced and line is ready for payment.